My 4Runner and Celica page
TMC 1.1 Install
My 4Runner and Celica page
TMC 1.1 Install
|
|||||
|
|
||||||||||||||||||||
|
Tools & Supplies Parts |
||||||||||||||||||||
|
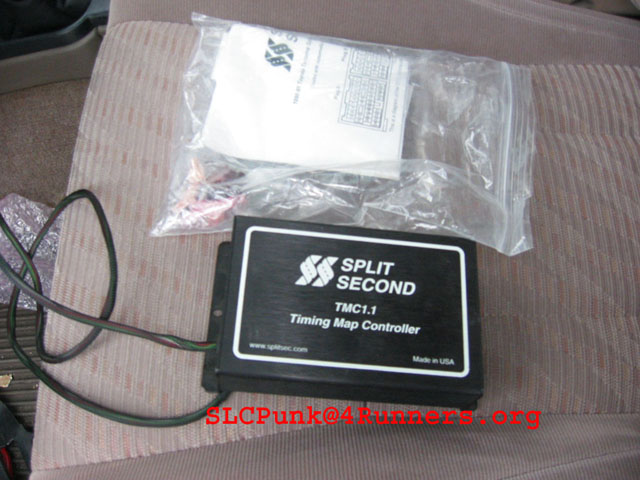
Summary Credit: The majority of information I received came from http://www.gadgetonline.com. Gadget has a complete fuel and ignition package called the URD kit. With this kit you can retard the ignition at certain times and increase your fuel to the engine. This kit solves the “High Gear-Low RPM” problems and the high rpm lean out issues. I am planning on buying his kit down the road, but for now my main concern is to control the ping issue. Thanks Bob Kim (Bob_98SR5) for allowing me to use his format in this write-up. Click here for Split Second install instructions for a 1996-1997 4Runner. Click here for Split Second install instructions for a 1998-1999 4Runner Click Here for Split Second install instructions for a 1996-1997 Tacoma, 1998-1999 Tacoma Click here for Split Second install instructions for a 1996-1997 T-100
Step 1: Disconnect Battery/Removing the Panels
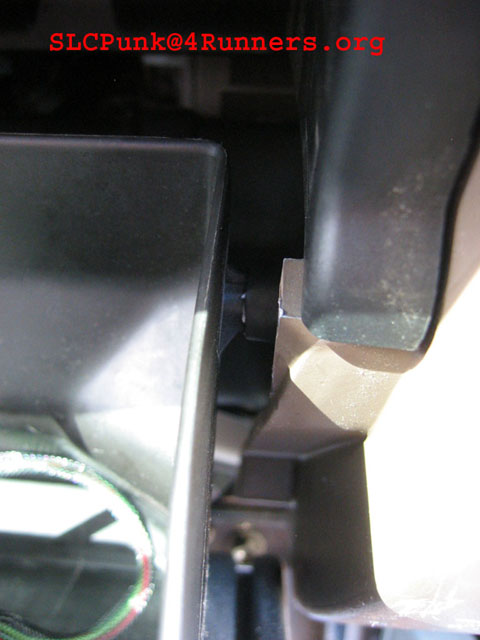
Now, you are ready to remove the panel above the glove box. This will allow you a clear shot at the engine’s ecu. You
will need a 10mm socket and a ratchet to remove this. Remove the three bolts
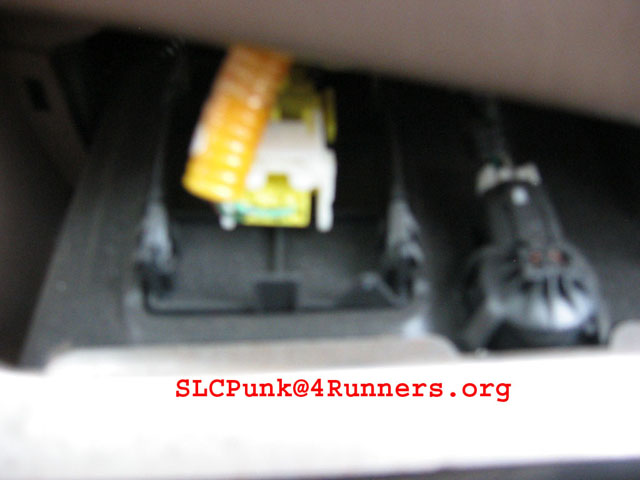
and set aside. Take the wire clip (“E” in picture below) out of the panel. Now you can pull the panel down, when you do this, you will notice that there is a
glove box light (“B” in picture below), and a square panel with a harness attached (“A” in picture
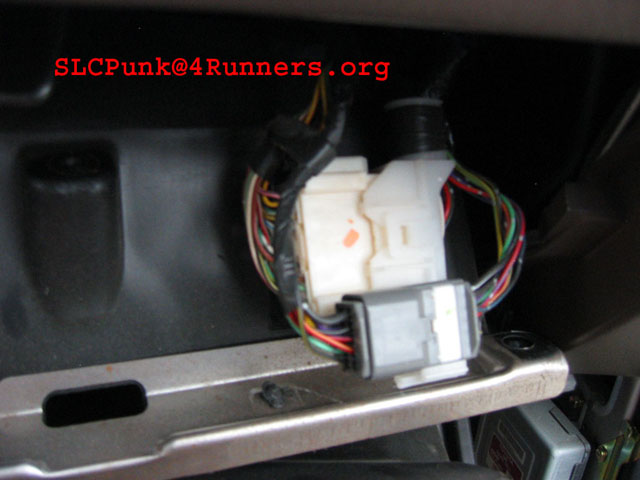
below), and another harness on the top on the glove box panel (“D” in picture below). Unplug the glove box light and remove the square panel by pushing it out of the glove box panel and unclip
the final harness from the panel.
|
||||||||||||||||||||