My 4Runner and Celica page
TMC 1.1 Install Page 2


Home | Celica | 4Runner | Family's Cars | Past vehicles | Write-up's


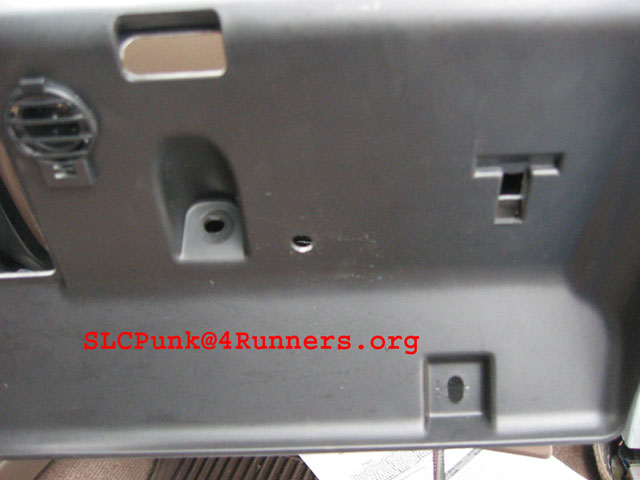
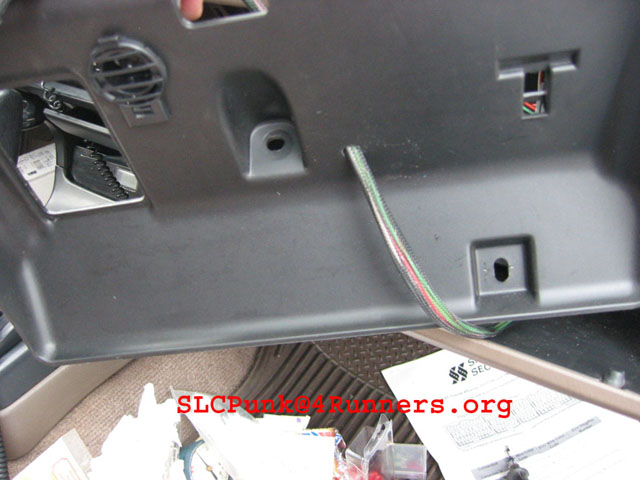
Step 2: Drilling a hole for the wires

I decided to install the TMC 1.1 in my glove box.  This is a safe place and I didn’t have to splice in more wire.  
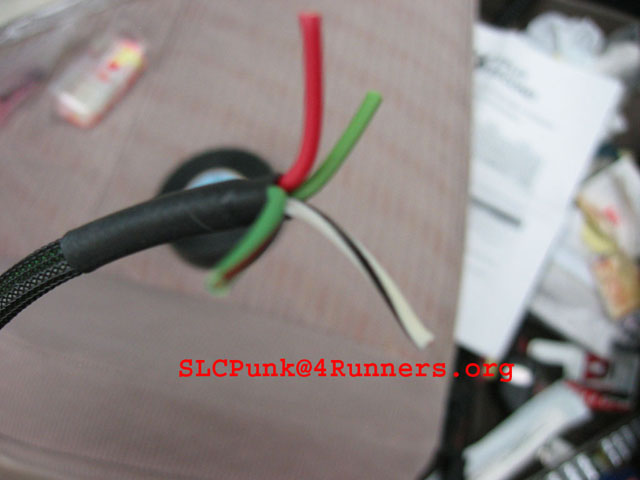
Drill out a hole that is just larger than the wires and push the wires through. 

tmc25.jpg
Hole drilled

tmc24.jpg
Thread wires through hole. Make sure you do this before connecting the wires to the ECU!!


Step 3: The ECU
Now you have a clear view of the ECU and the wiring harnesses.  This is where the Split Second Instructions come in handy.  My 1997 4Runner 4x4 with an automatic transmission has 4 harnesses.  In the Split Second instructions they are labeled A, B, C, D when viewing it from the passenger seat head on from left to right.

tmc29.jpg
The ECU on my 1997 4Runner SR5 V6 4x4 Automatic tranny. The harnesses are labeled A, B, C, D.

tmc27.jpg
TMC wires. Red, Green w/Red Stripe, Green, White W/ Black stripe.

Click here to go to page 3